

How to change the default template of your blog

So first of all, we have to get a beautiful template for your, and I want to recommend a platform that provides a free and affordable template for your BlogSpot blog, meaning that if you cannot afford to purchase a premium template, you could get a free one that is still beautiful and more attractive than the default template. But also note that using the free version of the template also comes with a disadvantage i.e. you will not be able to remove the Google blogger logo from the sidebar and the footer when customizing your blog template, but if you are not comfortable with that, then I suggest you purchase a premium template, but if you are comfortable with using the free template, then let’s keep going.
So the platform I would recommend for getting your free and premium templates is “Gooyaabitemplates” So visit let’s visit gooyaabitemplates dot com on the search bar of your browser.

When you search for it, this is how the site will appear;

As you can see they have assorted types of templates for
your niche, so on the site you’ll see three buttons i.e. the Responsive Templates, Free Blogger Templates, SEO Ready Templates.
Now click on FreeBlogger Templates.

And when you click on it, this is where it will direct you;

As you can see that there are a lot of free templates on
this page for you to use, but I will use “Celfie”
Click on “Celfie”.

When you click “Celfie” this is how it will appear;

Now click on “Download” to download the Template;

When you click on the “Download” button, your file explorer will appear for you to choose where your template will be downloaded to, so select where you will easily find your file and click on “Save”, and it will be saved as a zip file format.

When you’re done with downloading your template, go to your file explorer and select the zip folder, right-click on it and click on “extract all”. When you click on extract all an interface will appear like;

Then click on “Extract” ;

When you’re done extracting the files, log in your Google blogger admin dashboard;

Then click on “Theme”;

Then click on “Choose File”.

Then on the interface that appears, choose the XML source file;

And click on the "open" button

Then appear like this;

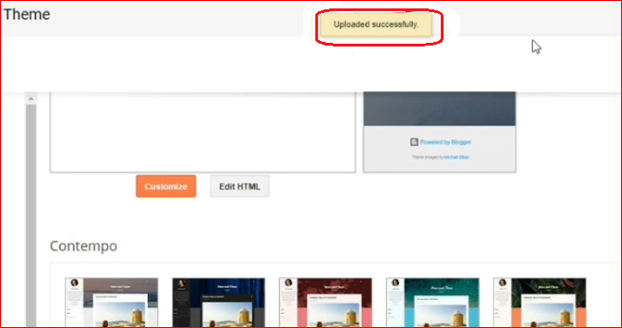
Click on “upload”;

Then you’ll see this quote appear “upload successful”
Finally, click on view blog to see how looks like. And this how my own looks like;

So in my next post, I will show you how to further Customize your blog templates.
Also in case you did not understand this post you can watch this tutorial video, which will be very useful to you.


0 Comments